See the world with new eyes
Ever think about the beauty of everyday things? How what may appear simple can suddenly be elevated to the sublime? Stare at an object too long, and the familiar turns fantastical, the mundane becomes magnificent. This week, we’ll bring to life one of the most intriguing kitchen appliances: The can opener.
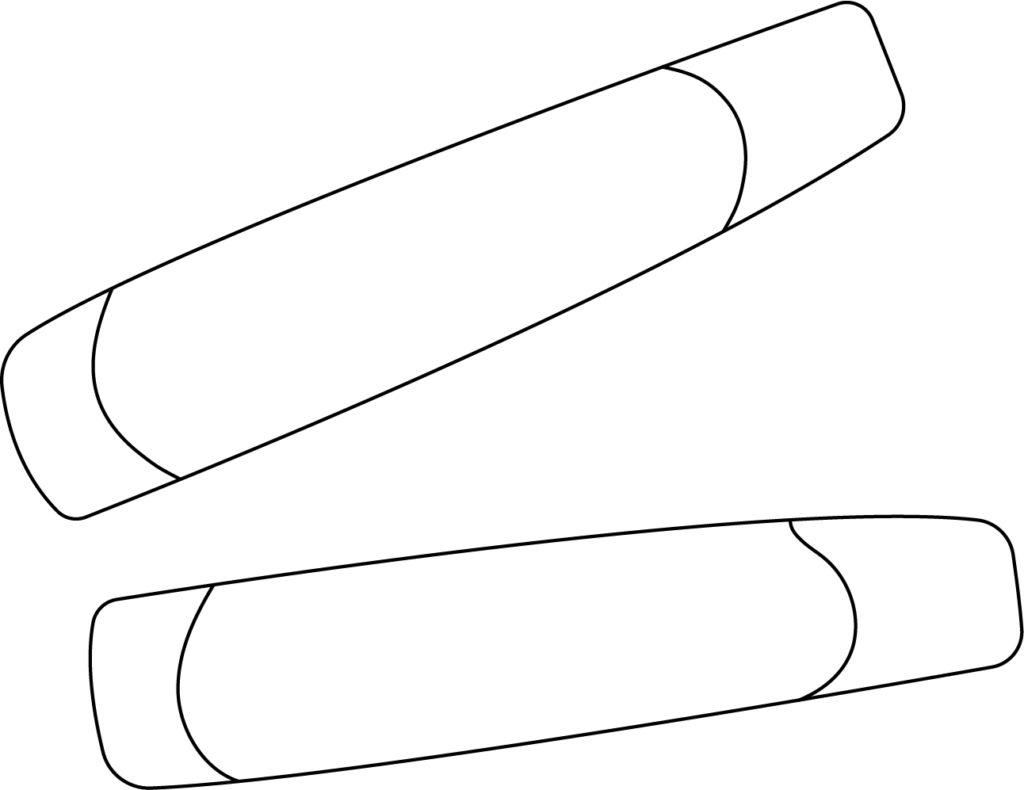
Step 1: Handles
Let’s kick things off with two handles, like these here. Even though we’re drawing a very specific kind of can opener, remember: can openers come in all shapes and sizes, and there’s no wrong way to draw one.
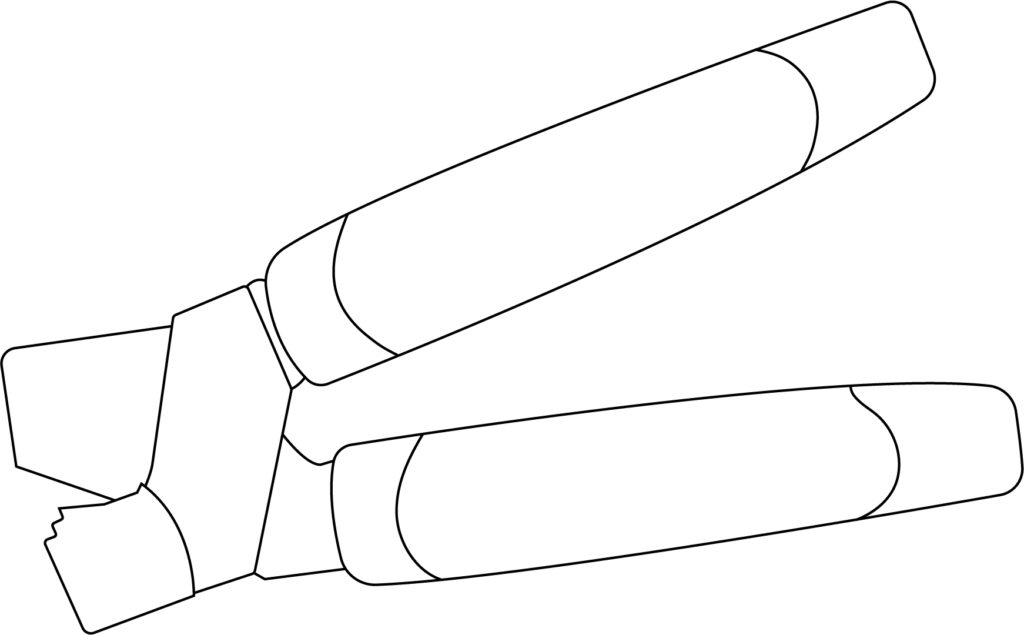
Step 2: Metal parts
Attach some metal parts to the handles. What do they do? Theories abound, but many believe they are there to attach parts to … other parts.
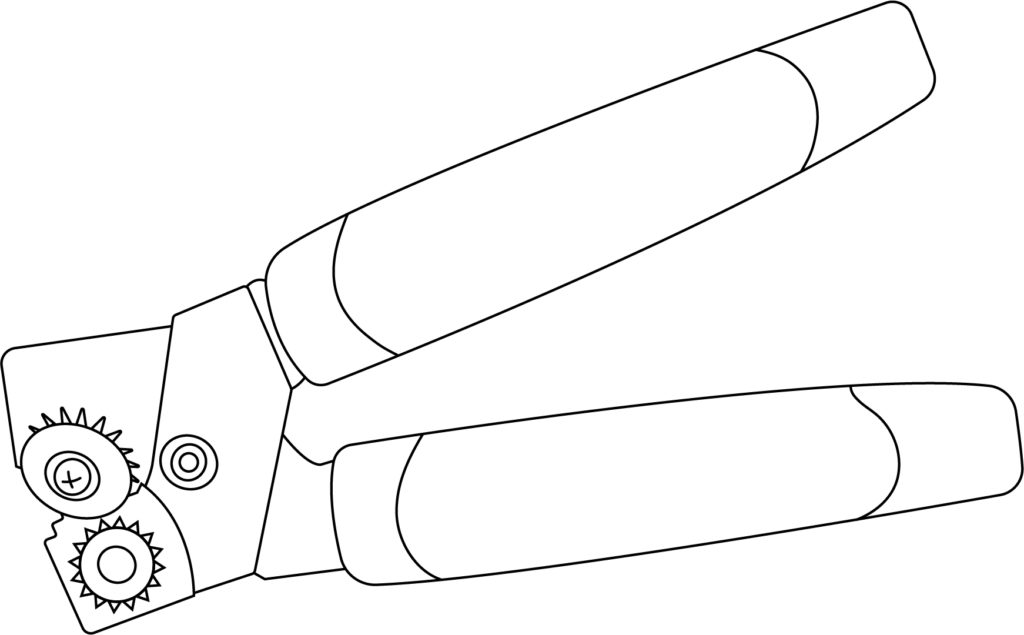
Step 3: More metal parts
These must be the other parts—some wheels, designed to puncture a can lid and roll around the circumference. Don’t forget to draw some small circles to fasten the previous metal parts together, creating a pivot point for your handles.
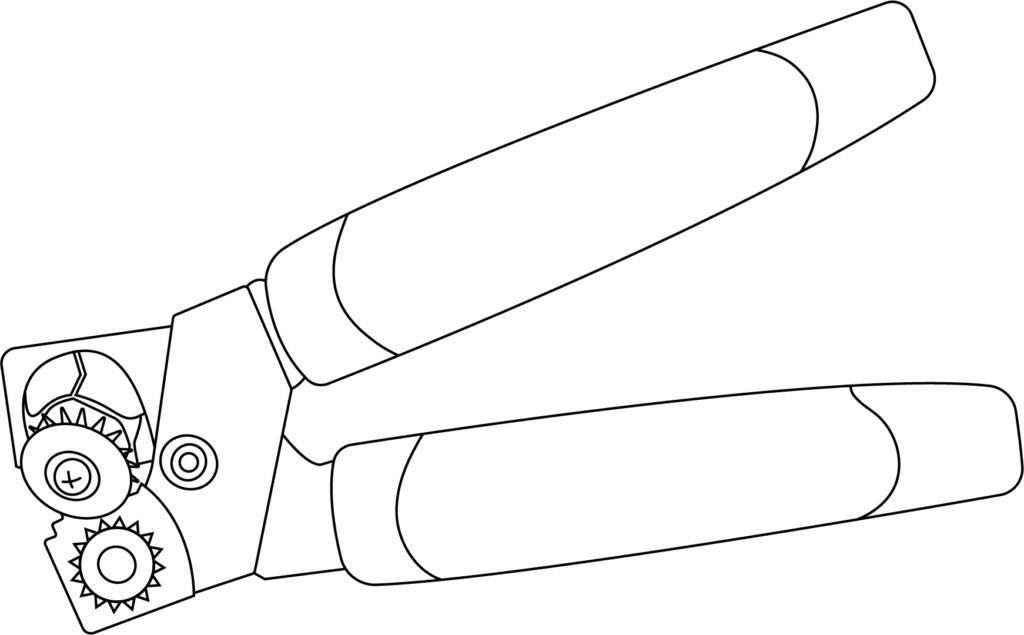
Step 4: Even more metal parts
For a can opener, this thing sure does have a lot of stuff going on. Add these other parts here, they must do something important.
Step 5: Twisty thing
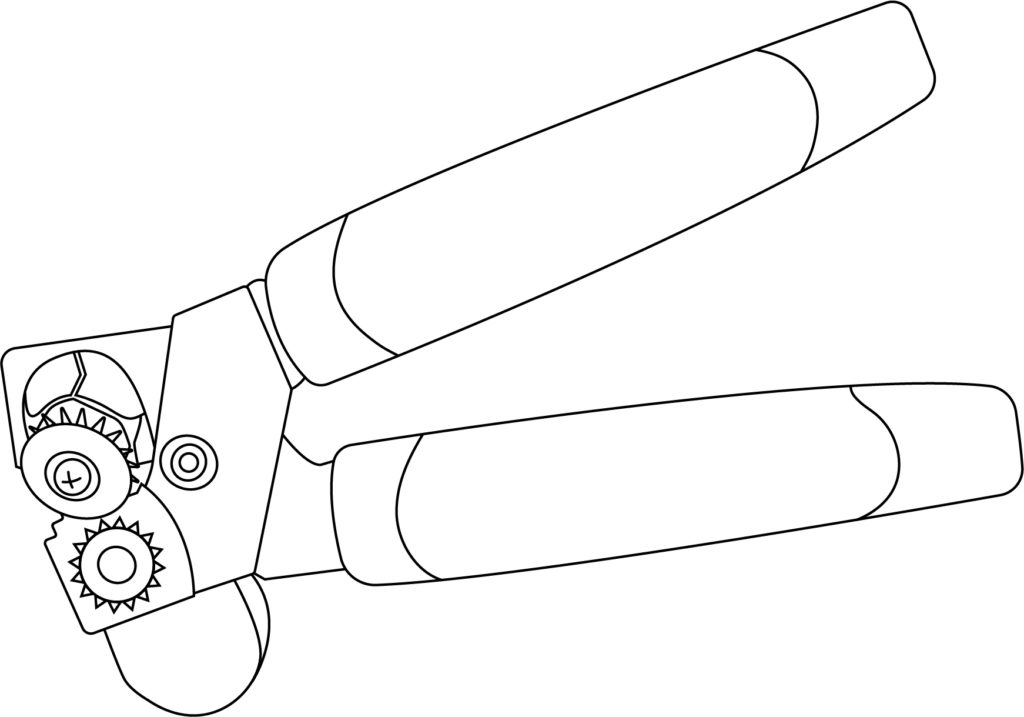
If you’re absolutely serious about opening a can, you will need a twisty thing to turn the wheels around the lid. Because of the angle of our can opener, we’ll just draw the part of it we can see, peeking out from behind all those shiny metal parts.
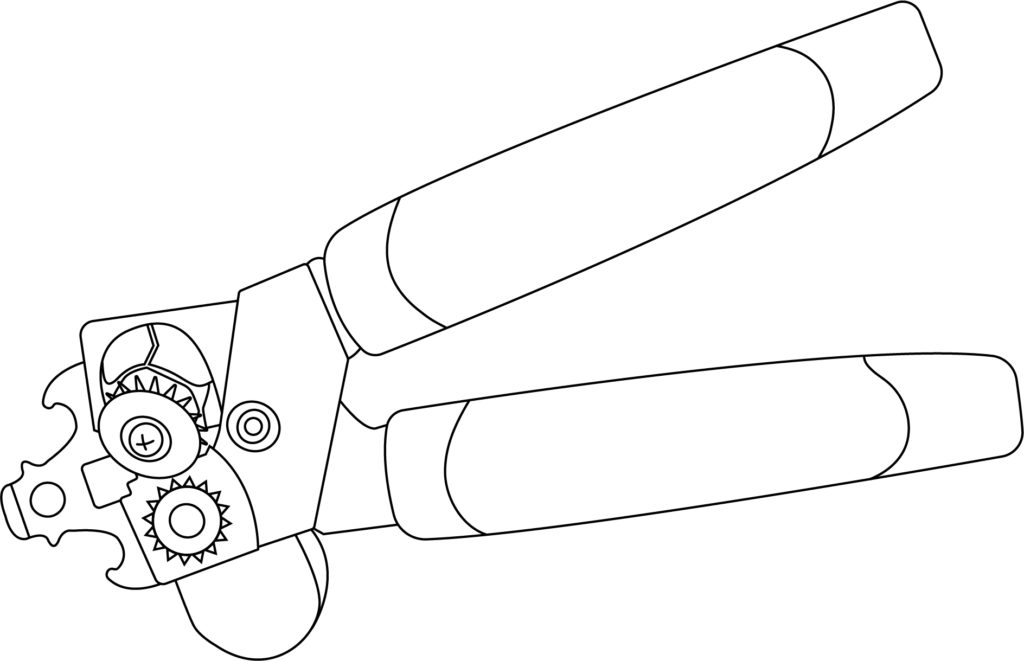
Step 6: Bottle openers
Add a couple bottle openers at the top, and you’ve got yourself one nice looking can (and bottle) opener.
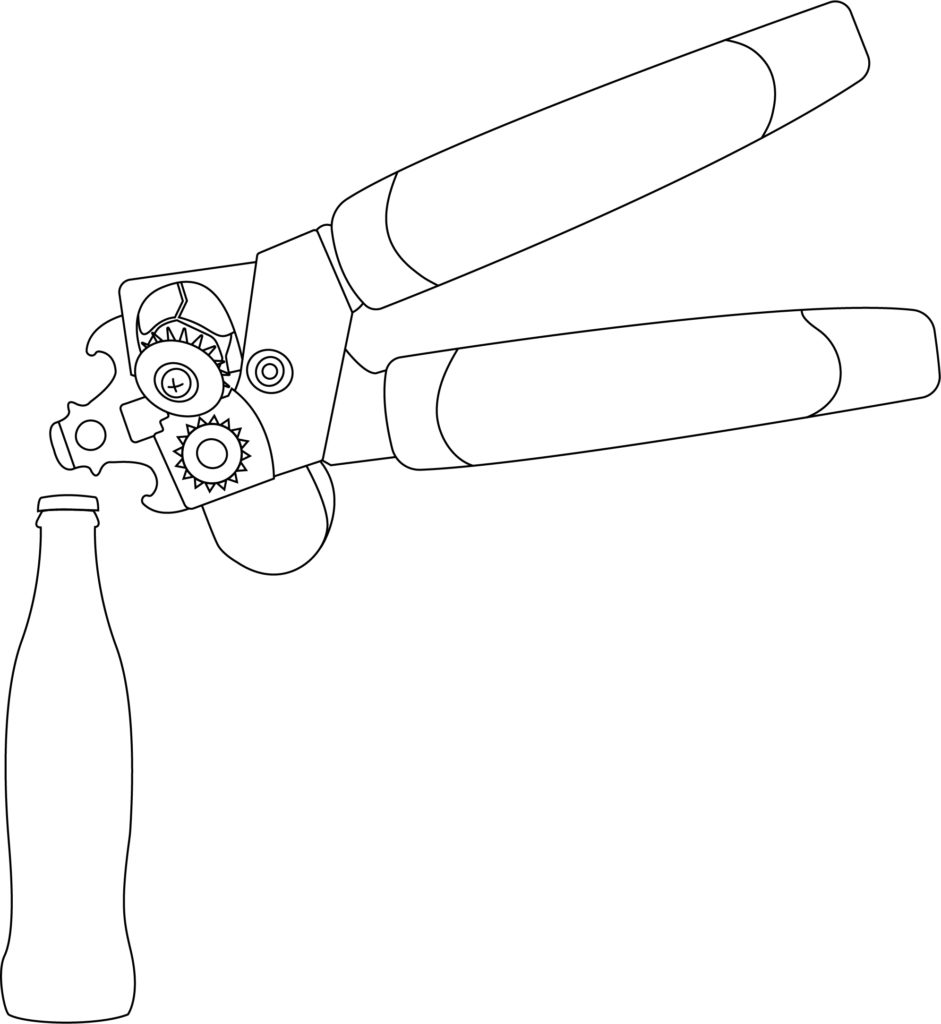
Step 7: Bottle
Time to open up something with our flashy new can opener! How about a bottle? They’re much easier to open up than cans.
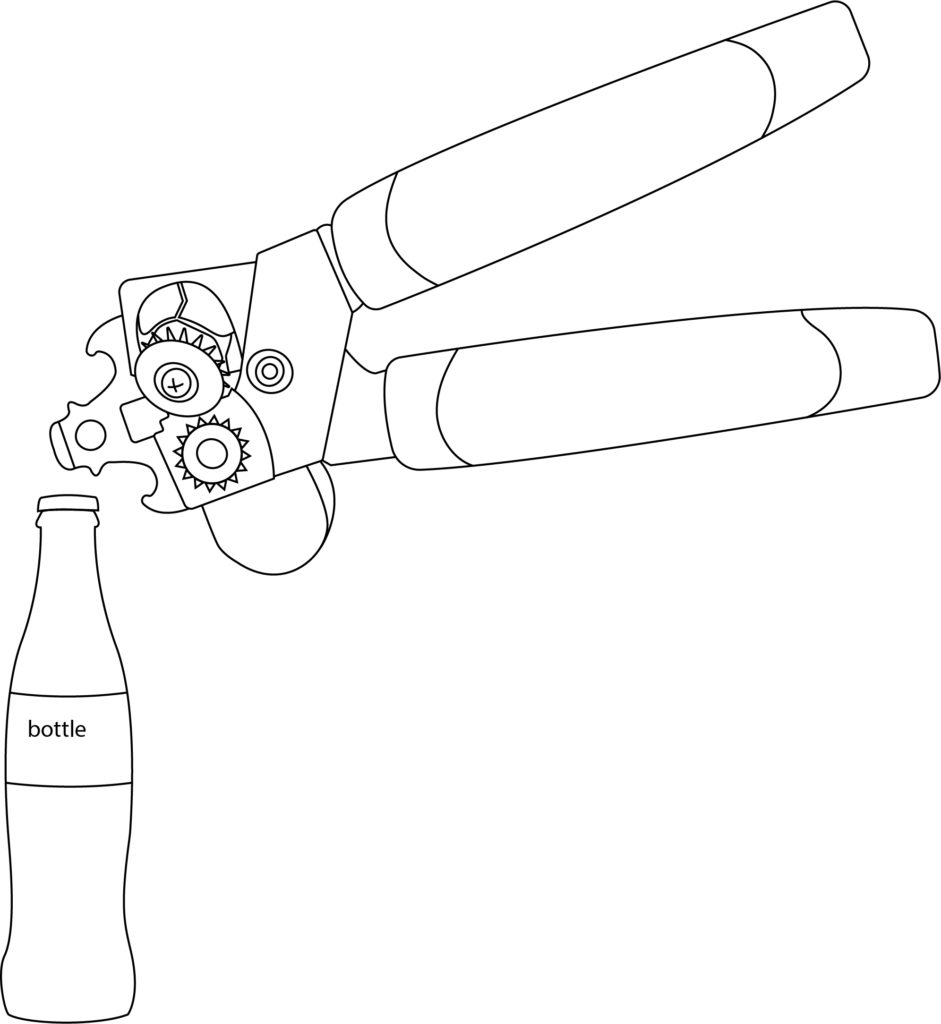
Step 8: Label
Whoops! Almost forgot to label that bottle there. You definitely don’t want to open up anything without knowing what it is. Finished? Alright, let’s crack it open!
Done!
Take a look at that. Such bold lines, drawn with a sense of ease and self-assurance—they suggest the mark of a true artist. Bravo!




Be the first to comment on "Learn to draw"